How to Reset Kasa Camera: Step-by-Step Guide
As the world becomes more digitized, we are increasingly relying on technology to secure our homes and businesses. A Kasa Camera is a popular security device that can provide peace of mind with its advanced features.
But like any technology, it can occasionally encounter issues that might require a reset. In this blog post, we will guide you on how to reset Kasa Camera.
How to Reset Kasa Camera?
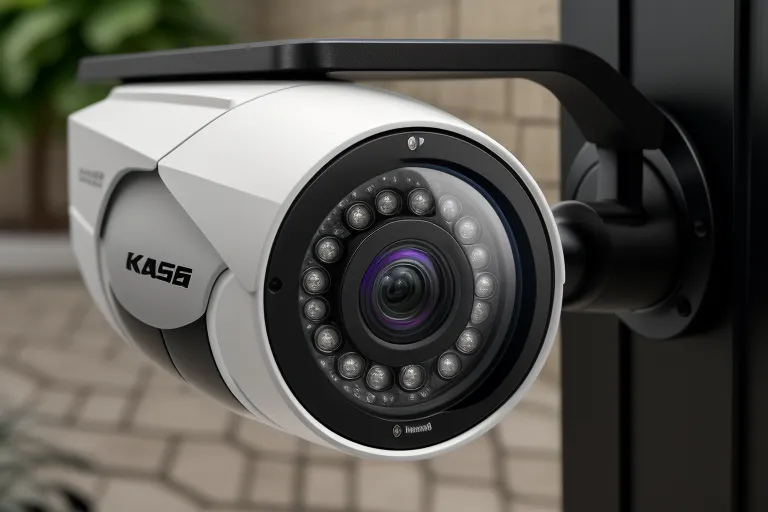
Resetting your Kasa Camera is a straightforward process. Here’s how you can do it:
- Start by ensuring your Kasa Camera is turned on and properly connected to a power source.
- Once the device is on, locate the reset button. As discussed earlier, it can be found either at the base or back of your camera, depending on the model.
- Using a pin or any small pointed object, press and hold the reset button for about ten seconds. You can confirm the reset process has started when you notice the camera’s status LED flashing an amber color.
- After ten seconds, release the reset button and allow your Kasa Camera some time to reboot. This rebooting phase is indicated by a change in the LED light from an amber blink to a green blink.
- Your Kasa Camera has now been successfully reset to factory settings. You will need to reconnect it to your Wi-Fi network and reconfigure the settings according to your preferences.
- Lastly, remember to check for any firmware updates post-reset and keep your device’s firmware up-to-date.
Following these steps will restore your Kasa Camera back to its original factory settings, hopefully resolving any issues you were encountering. If the problem persists, consider repeating the reset process or reach out to Kasa’s customer support for further assistance.
When to Consider Resetting Your Kasa Camera
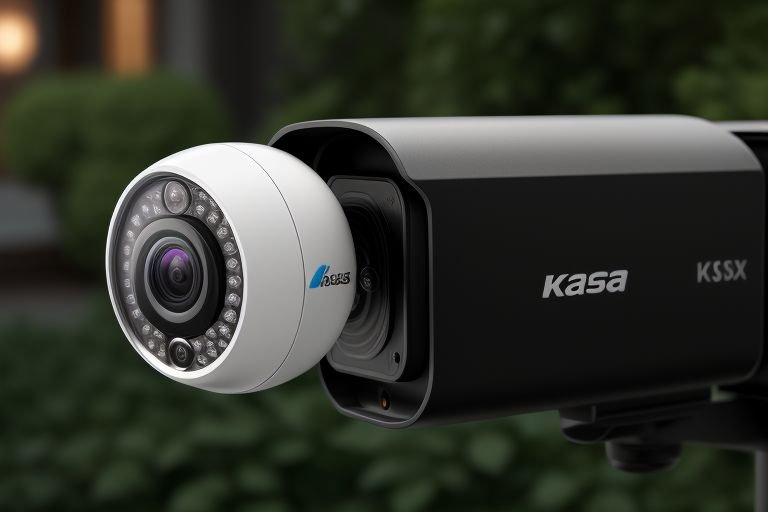
Resetting your Kasa Camera is a solution you may need to resort to when the device begins to malfunction or stops operating as it should.
Some clear indications that your camera may need a reset include: the device not responding to commands, persistent error messages appearing on the screen, or issues arising with its network synchronization.
Such problems often signal a need for a reset. A reset can serve as a beneficial troubleshooting step, as it takes your camera back to its original factory settings, thereby eliminating any potential configuration errors that might have resulted in the malfunction.
How to Properly Prepare for the Reset
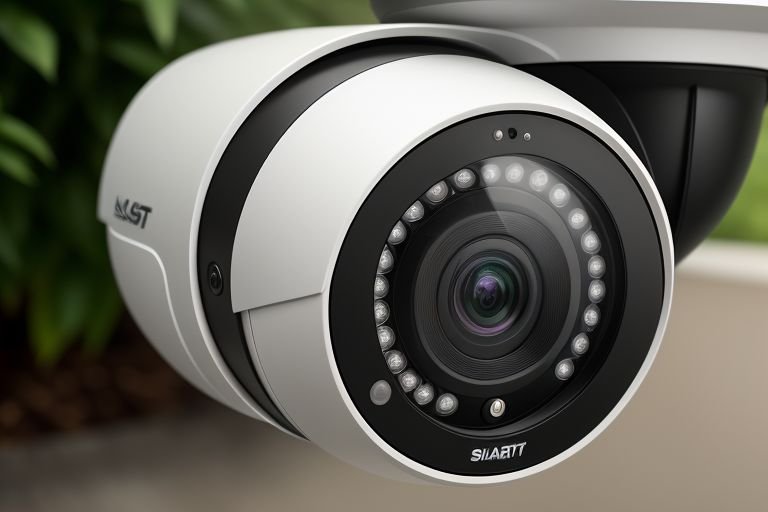
Before initiating the reset process on your Kasa Camera, it’s essential to take a few preparatory steps. This involves safeguarding any critical data that you wish to retain.
As the reset will return your camera to its factory settings, all data and customized settings will be erased. Therefore, it’s a good idea to create a backup of any important footage or data that you don’t want to lose.
Apart from this, it’s also wise to jot down any specific configuration settings you have put in place. This might include preferences related to motion detection, alert settings, or video quality parameters.
Keeping a record of these settings can save you time and hassle after the reset, as you’ll need to input them again to get your camera working as it was before.
Remember, resetting should be considered a last resort troubleshooting method. Make sure you have explored other potential fixes before deciding to reset your camera.
Finally, ensure you have access to your Wi-Fi network details, as you will need to reconnect your Kasa Camera to your network once the reset is complete. These preparatory steps will make the resetting process smooth and stress-free.
Locating the Reset Button on Your Kasa Camera
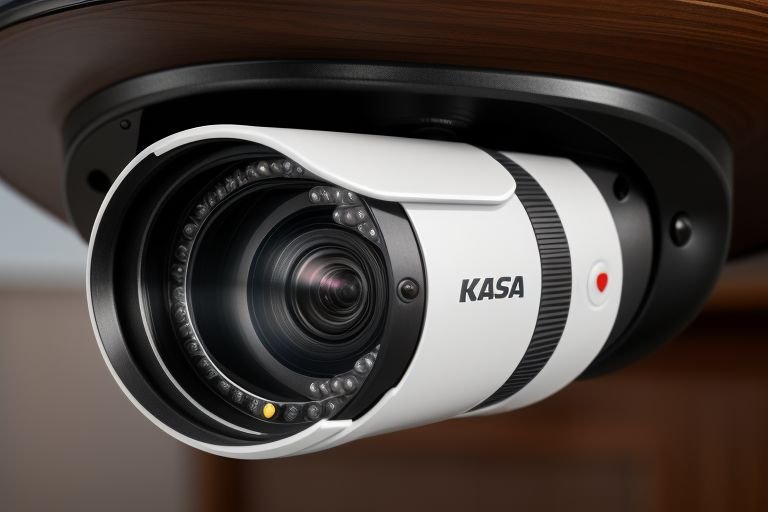
The reset button on a Kasa Camera is typically found either on the base or at the back of the device. It is generally clearly marked with the word ‘RESET’.
However, the exact location may vary depending on the model of your camera. If you are having difficulty finding the reset button, don’t worry – you can always refer to your camera’s user manual.
The user manual should contain detailed instructions on where to find the reset button for your specific Kasa Camera model. It’s essential to locate this button before you begin the reset process.
Remember, the reset button is what initiates the restoration of the camera to its factory settings. It is a key component in the resetting process. Hence, locating it correctly is crucial for successfully resetting your Kasa Camera.
Steps to Reset the Kasa Camera
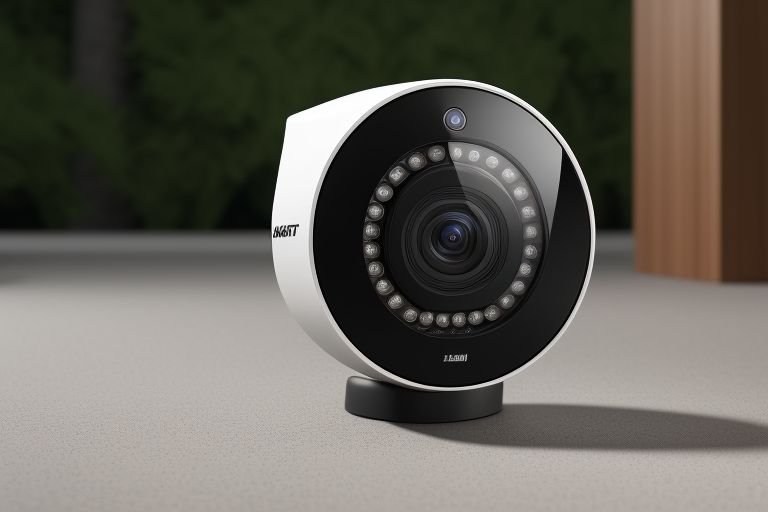
Getting your Kasa Camera back to factory settings is an easy task.
Once you’ve switched on your camera and pinpointed the reset button, take a pin or any small, pointed object to press and keep the button depressed for roughly ten seconds.
You’ll know the process is underway when you see the camera’s status LED flashing an amber color.
After this, release the button and give your camera a few moments to reboot.
This rebooting phase is signified by the LED light changing from an amber blink to a green blink, indicating a successful reset.
Your Kasa Camera should now be back to its original factory settings. In the following steps, we’ll guide you on reconnecting and reconfiguring your camera post reset.
Setting Up the Kasa Camera Post Reset
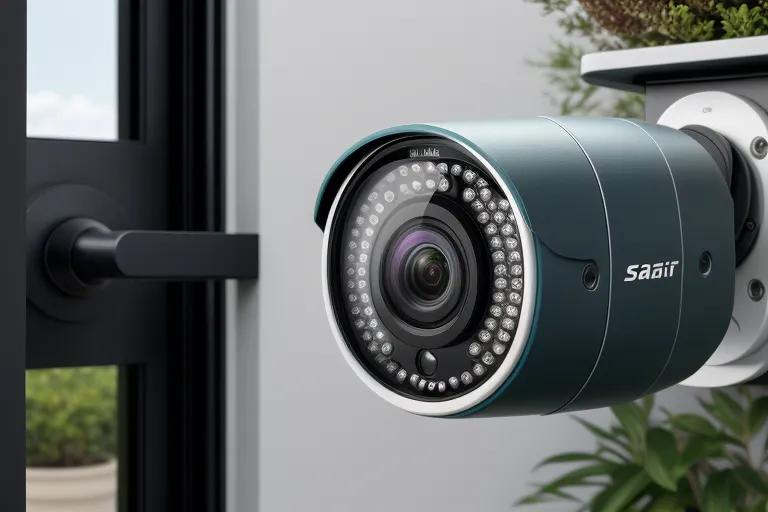
Once your Kasa Camera is successfully reset, it will need to be reconfigured, just as it was when you first purchased it. Start by connecting the device to your preferred Wi-Fi network.
You will then need to utilize the Kasa application to finalize the setup process. The application will walk you through a series of prompts to help you get your camera up and running.
During this stage, it’s important to recall those settings you jotted down before the reset, which may include motion detection preferences, alert specifications, or video quality adjustments.
By restoring these previous settings, you’ll ensure your camera returns to its previous functionality.
However, consider this as an opportunity to modify these settings if you think improvements could be made. Don’t rush this process, as properly configuring your camera can help avoid future issues.
This step-by-step approach will help you smoothly transition your Kasa Camera back into operation after a reset.
Remember, if you encounter any problems during this process, consult your user manual or Kasa’s customer support for assistance.
Troubleshooting Tips If Reset Doesn’t Work
In the unlikely event that the reset of your Kasa Camera fails to resolve the issues you were experiencing, there are additional troubleshooting measures that you can employ:
1. Check your camera’s firmware: Your device’s firmware should always be the latest version. If it isn’t, an update may help fix your issue. To check for updates, you can refer to the Kasa app or the user manual for guidance.
2. Repeat the reset: Sometimes, a single reset may not be sufficient to resolve certain glitches. In such cases, it could be worth your while to try resetting the camera again.
3. Reach out to customer support: If you’ve updated your firmware and tried resetting the camera multiple times without success, it might be time to get in touch with Kasa’s customer support. They have a team of experts who can guide you through more advanced troubleshooting steps or help determine if your device needs a professional repair.
While it can be frustrating when your camera doesn’t function correctly, remember that most issues can be fixed with a little patience and the right steps. So, keep calm and methodically follow these tips to get your Kasa Camera back on track.
Protecting Your Kasa Camera from Future Issues
To safeguard your Kasa Camera from potential problems, you should employ regular maintenance practices. This includes consistently keeping your camera’s firmware up to date.
Updates often include patches that can fix bugs or enhance performance, so staying current is crucial. Another best practice is routinely cleaning your camera lens.
Dust and debris can interfere with your camera’s ability to capture clear images, so keeping the lens clean will ensure optimal performance.
Additionally, the placement of your device matters. Make sure it is situated in a secure, dry location to prevent damage from environmental factors.
Frequently monitoring your Kasa Camera’s performance can help detect potential issues before they escalate. This proactive approach can help maintain the longevity and efficiency of your device.
However, always bear in mind that a reset, though a helpful troubleshooting tool, shouldn’t be your immediate solution for all problems. It’s crucial to preserve your personalized settings and stored data, and a reset erases these elements.
Hence, only resort to resetting your camera when truly necessary. By implementing these preventative measures, you can ensure the continuous smooth operation of your Kasa Camera and enjoy uninterrupted surveillance.
Kasa Camera FAQs
Q: Where is the reset button on my Kasa Camera?
A: The reset button is typically located at the base or back of your camera. The exact location can vary depending on the model. Consult your user manual for precise instructions.
Q: What happens when I reset my Kasa Camera?
A: Resetting your Kasa Camera will return it to its original factory settings, erasing all customized settings and data.
Q: How long should I press the reset button?
A: You should press and hold the reset button for about ten seconds until you see the status LED flashing amber.
Q: I’ve reset my Kasa Camera, but it’s still not working. What should I do?
A: Check if your device’s firmware is up to date. If the issue persists, consider repeating the reset or contact Kasa’s customer support.
Q: How do I prevent future issues with my Kasa Camera?
A: Regularly update your camera’s firmware, clean the lens routinely, and place the device in a secure, dry location. Regularly monitoring your camera’s performance can help detect potential issues early on.

Hey there! I’m Leo Donovan, your friendly tech enthusiast and writer here at HowToTechInfo.com. I’ve got a knack for making the complicated world of technology a breeze to understand. Whether it’s demystifying camera tech or diving into the wonders of smart homes, my goal is to empower you to navigate the digital landscape easily.

